Key Takeaways
-
Live Photos capture perfect moments before & after. Use them wisely with ample storage and iCloud backup.
-
Cover faces with Markup, a considerate gesture for privacy. Easily replace faces with Emojis for sharing.
-
Portrait Mode adds depth to photos. Experiment with different settings for an eye-catching effect.
Plenty of new features are rumored to be coming to the iPhone with iOS 18 this fall, and chances are, this will include some updates within the Camera app. While it’s already a great tool with tons of customizability options and pro camera modes, some might argue that the iPhone camera still isn’t quite up to the same standards as some of the best Android smartphone cameras. Nonetheless, there’s no denying that you can take awesome photos with an iPhone if you take the time to frame them nicely and choose the appropriate settings. There are a few things you can do to further improve the experience. These tips include ones that can make your photos better, some that allow for more customization, and a few that are just plain fun to check out.
18:04
Related
iPhone 15 Pro Max review: Apple is slowly winning over these Android diehards
The iPhone 15 Pro Max may not look much different from the iPhone 14 Pro Max, but it brings much improved cameras and ergonomics
1
Take Live Photos
Live Photos is a great iPhone feature that captures 1.5 seconds before and 1.5 seconds after you hit the shutter to snap a photo. You can then scrub back and forth on the image to find the perfect still. Yes, Live Photos take up more storage space on the phone, but if you have an iPhone with ample on-board storage along with an iCloud subscription, keeping the Live Photos feature on all the time, or at least during special events, will pay off in spades.
In a group photo situation, you would be able to find a still where nobody’s eyes are closed or the perfect moment without motion blur in an action shot. If someone walked by right when you snapped a photo, you can also scrub past them and get the version of the photo without them. See our handy guide on how to take Live Photos for more info.
2
Use Markup to cover faces
You might already be familiar with how to use the Markup feature on iPhone, which is great for adding your own little drawings, text, sketches, and more to photos. You can also use Markup to fill out digital forms, even sign them with your digital signature. But did you know you can use Markup to cover someone’s face in a photo?
It might not be something you thought about before, but besides covering up that ex you want out of your life, it’s considered inconsiderate to post images of other people’s children on social media unless you have express permission from their parents. There are also people who prefer not to have their likeness appear online. But how do you share that adorable photo from your child’s talent show or the group photo that includes the person who doesn’t want their visage to be publicly visible? Easy. Use Markup to cover faces with super-cute Emojis while yours shines through. iOS 17 added new features like Live Stickers as well.
3
Use Portrait mode
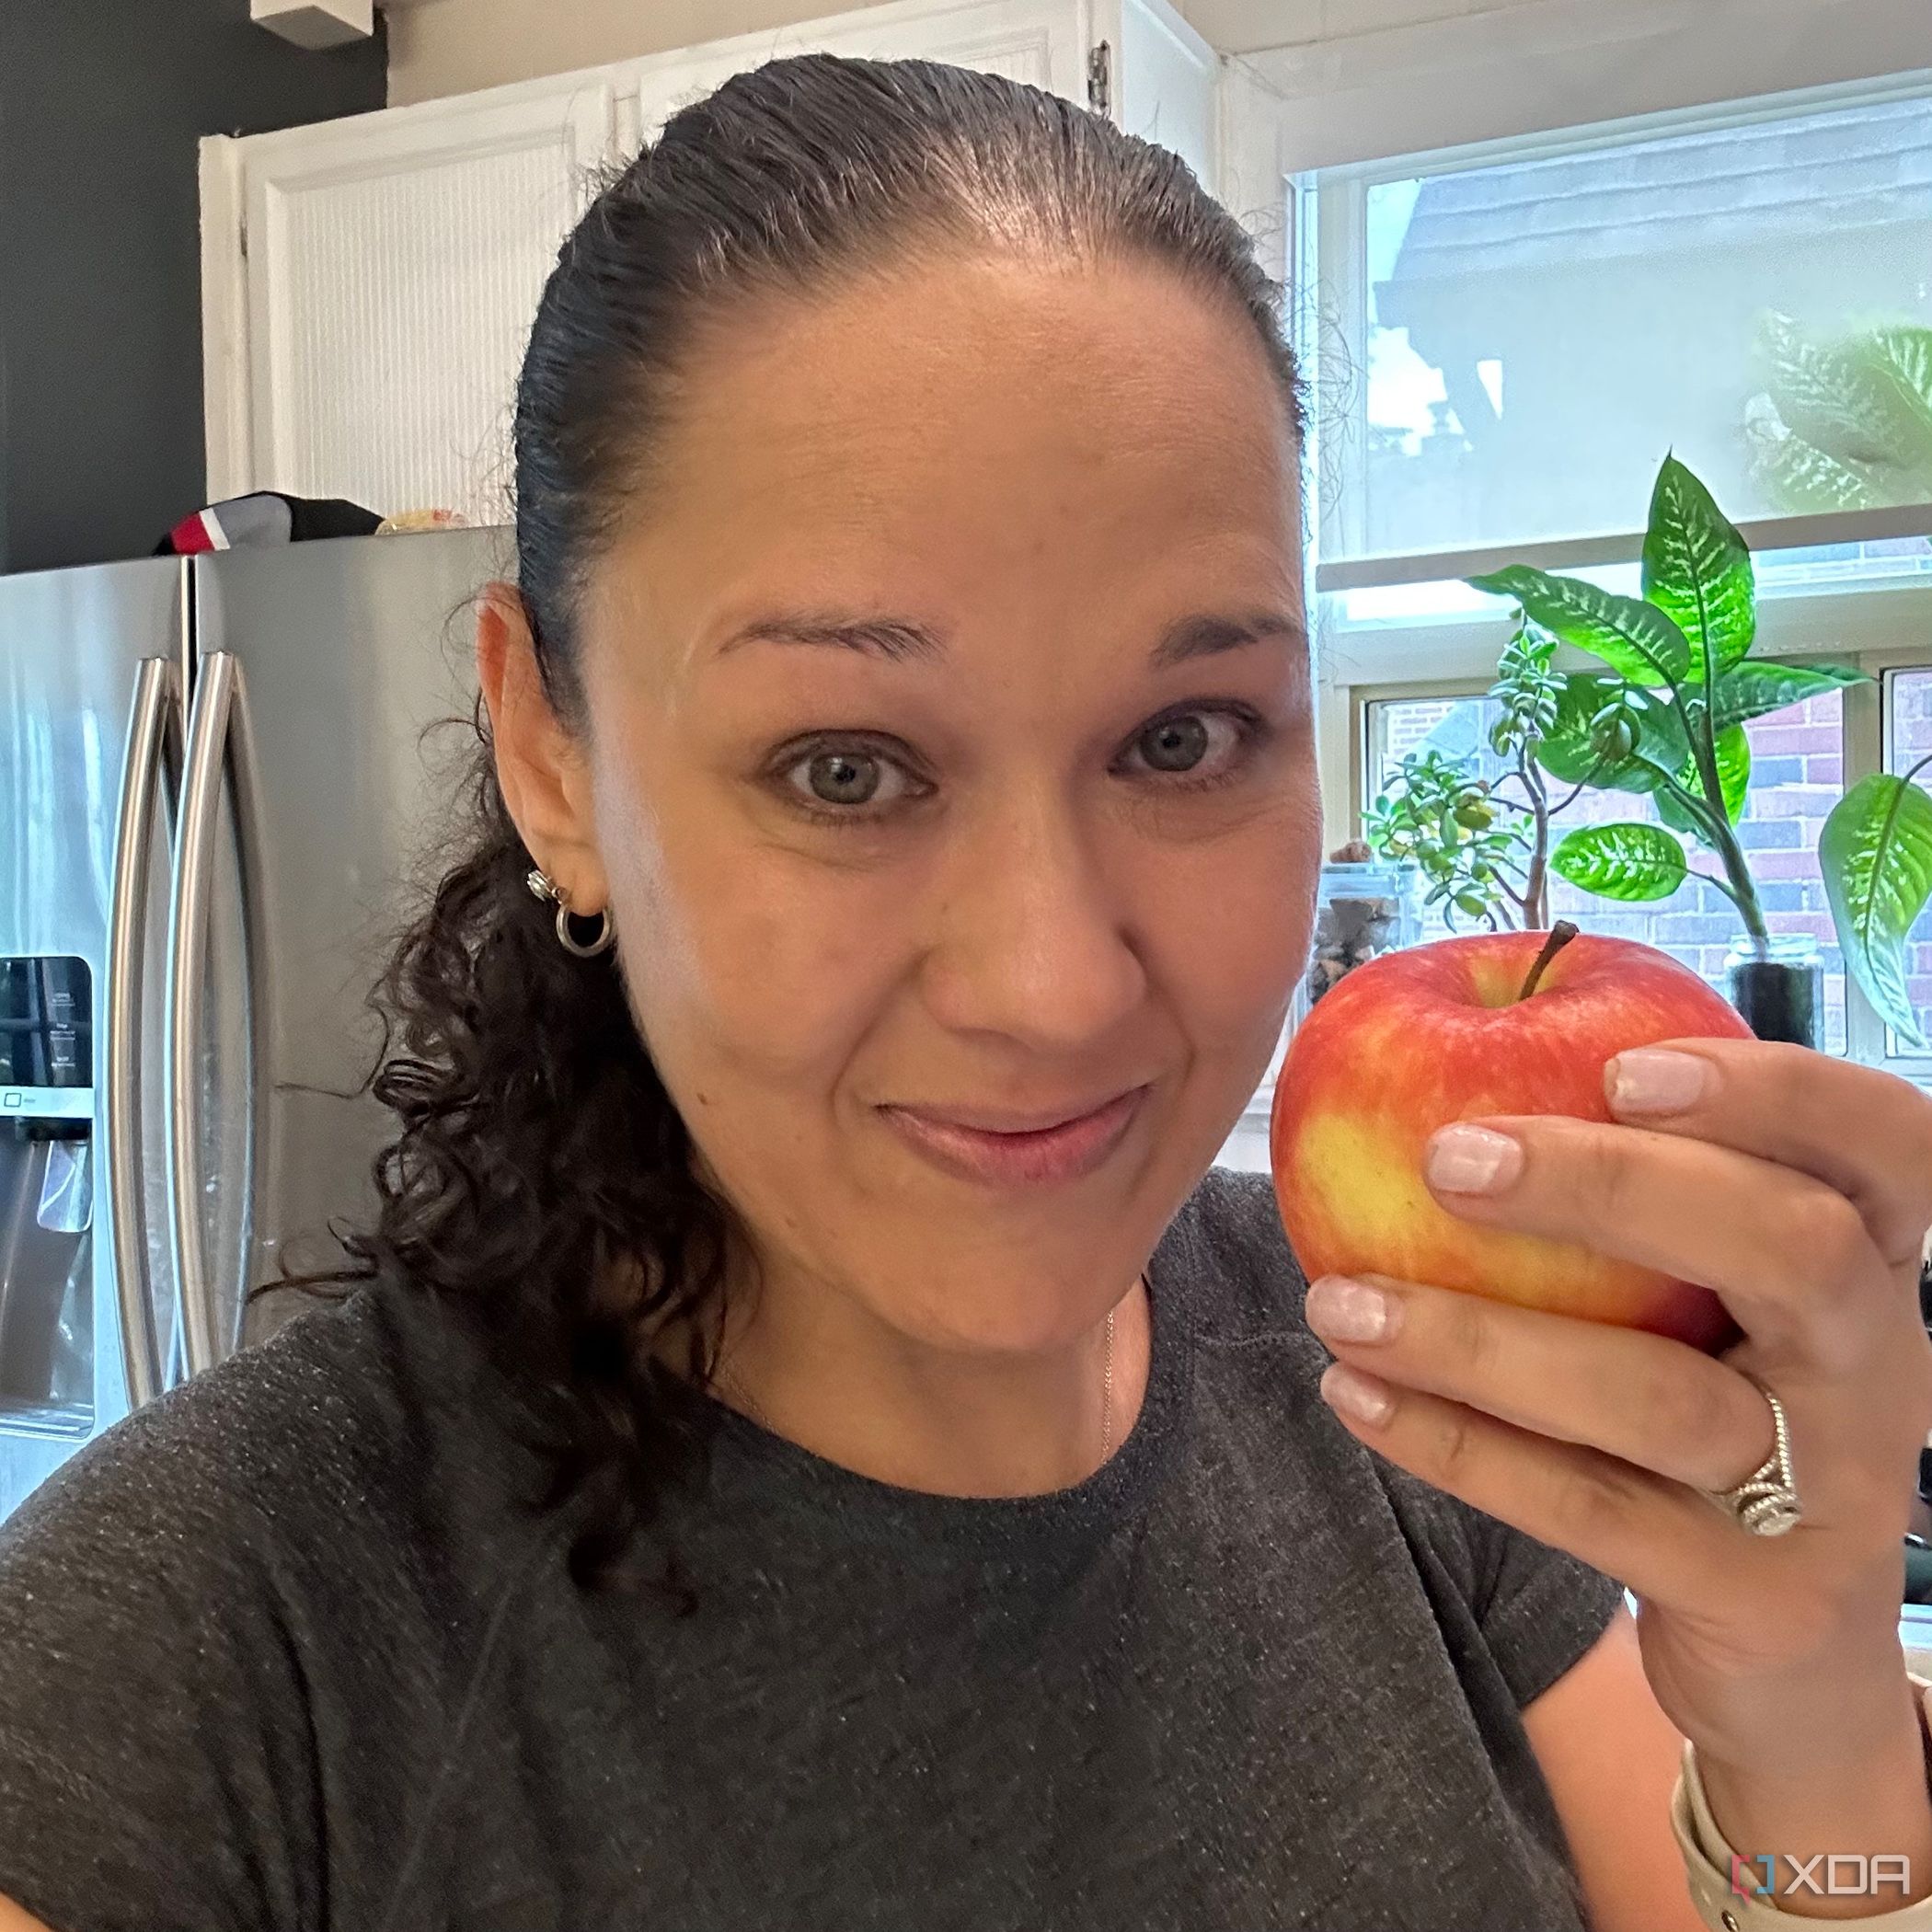
Portrait mode on iPhone adds a stunning depth-of-field to photos, but so many people don’t even bother using it. And it’s easy! Hold the camera up to the subject with a lovely background (think the ocean at the beach or trees in the local park), and switch to Portrait mode. It might tell you to move closer or farther away, or you might be advised that you need more light for the shot to work. But then you’ll get an astounding shot where the subjects will appear as though they’re popping against the background.
You can also adjust the settings as you take the picture. Play around with lighting via settings that pop up once you select Portrait mode, including Natural (no filters or editing), Studio (brightens facial features), Contour (adds beautiful and dramatic directional lighting), Stage (you remain in color while the background turns black), Stage Light Mono (black and white with a dark black background), and High-Key Light Mono (grayscale subject with a bright, white background) to produce the desired effect. Portrait Mode only works with human faces for now, and once you select this mode, the Live photo option is automatically turned off until you go back to standard Photo mode. Did you know you can also take a selfie in Portrait mode? That knowledge might be a game-changer for some.
4
Verify lighting
Check the lighting to ensure that it isn’t casting shadows or isn’t too harsh or dark. You can do this inside the app by adjusting the exposure (see below) or you can make changes in your environment. If it’s a bright day, for example, you might want to wait until the sun has gone down or when it’s not facing you to ensure you get the perfect shot. If you’re taking a photo of an item that casts glare, place it at a slight angle to help eliminate that.
You generally want a soft light that is positioned in front of the subject and behind you, so you can move around to block out the light, such as with a building or a tree. If you’re indoors, you might need a good source of artificial light. You can do this through a third-party accessory like a ring light or have someone hold a light diffuser to improve the lighting.
5
Shoot from a low angle
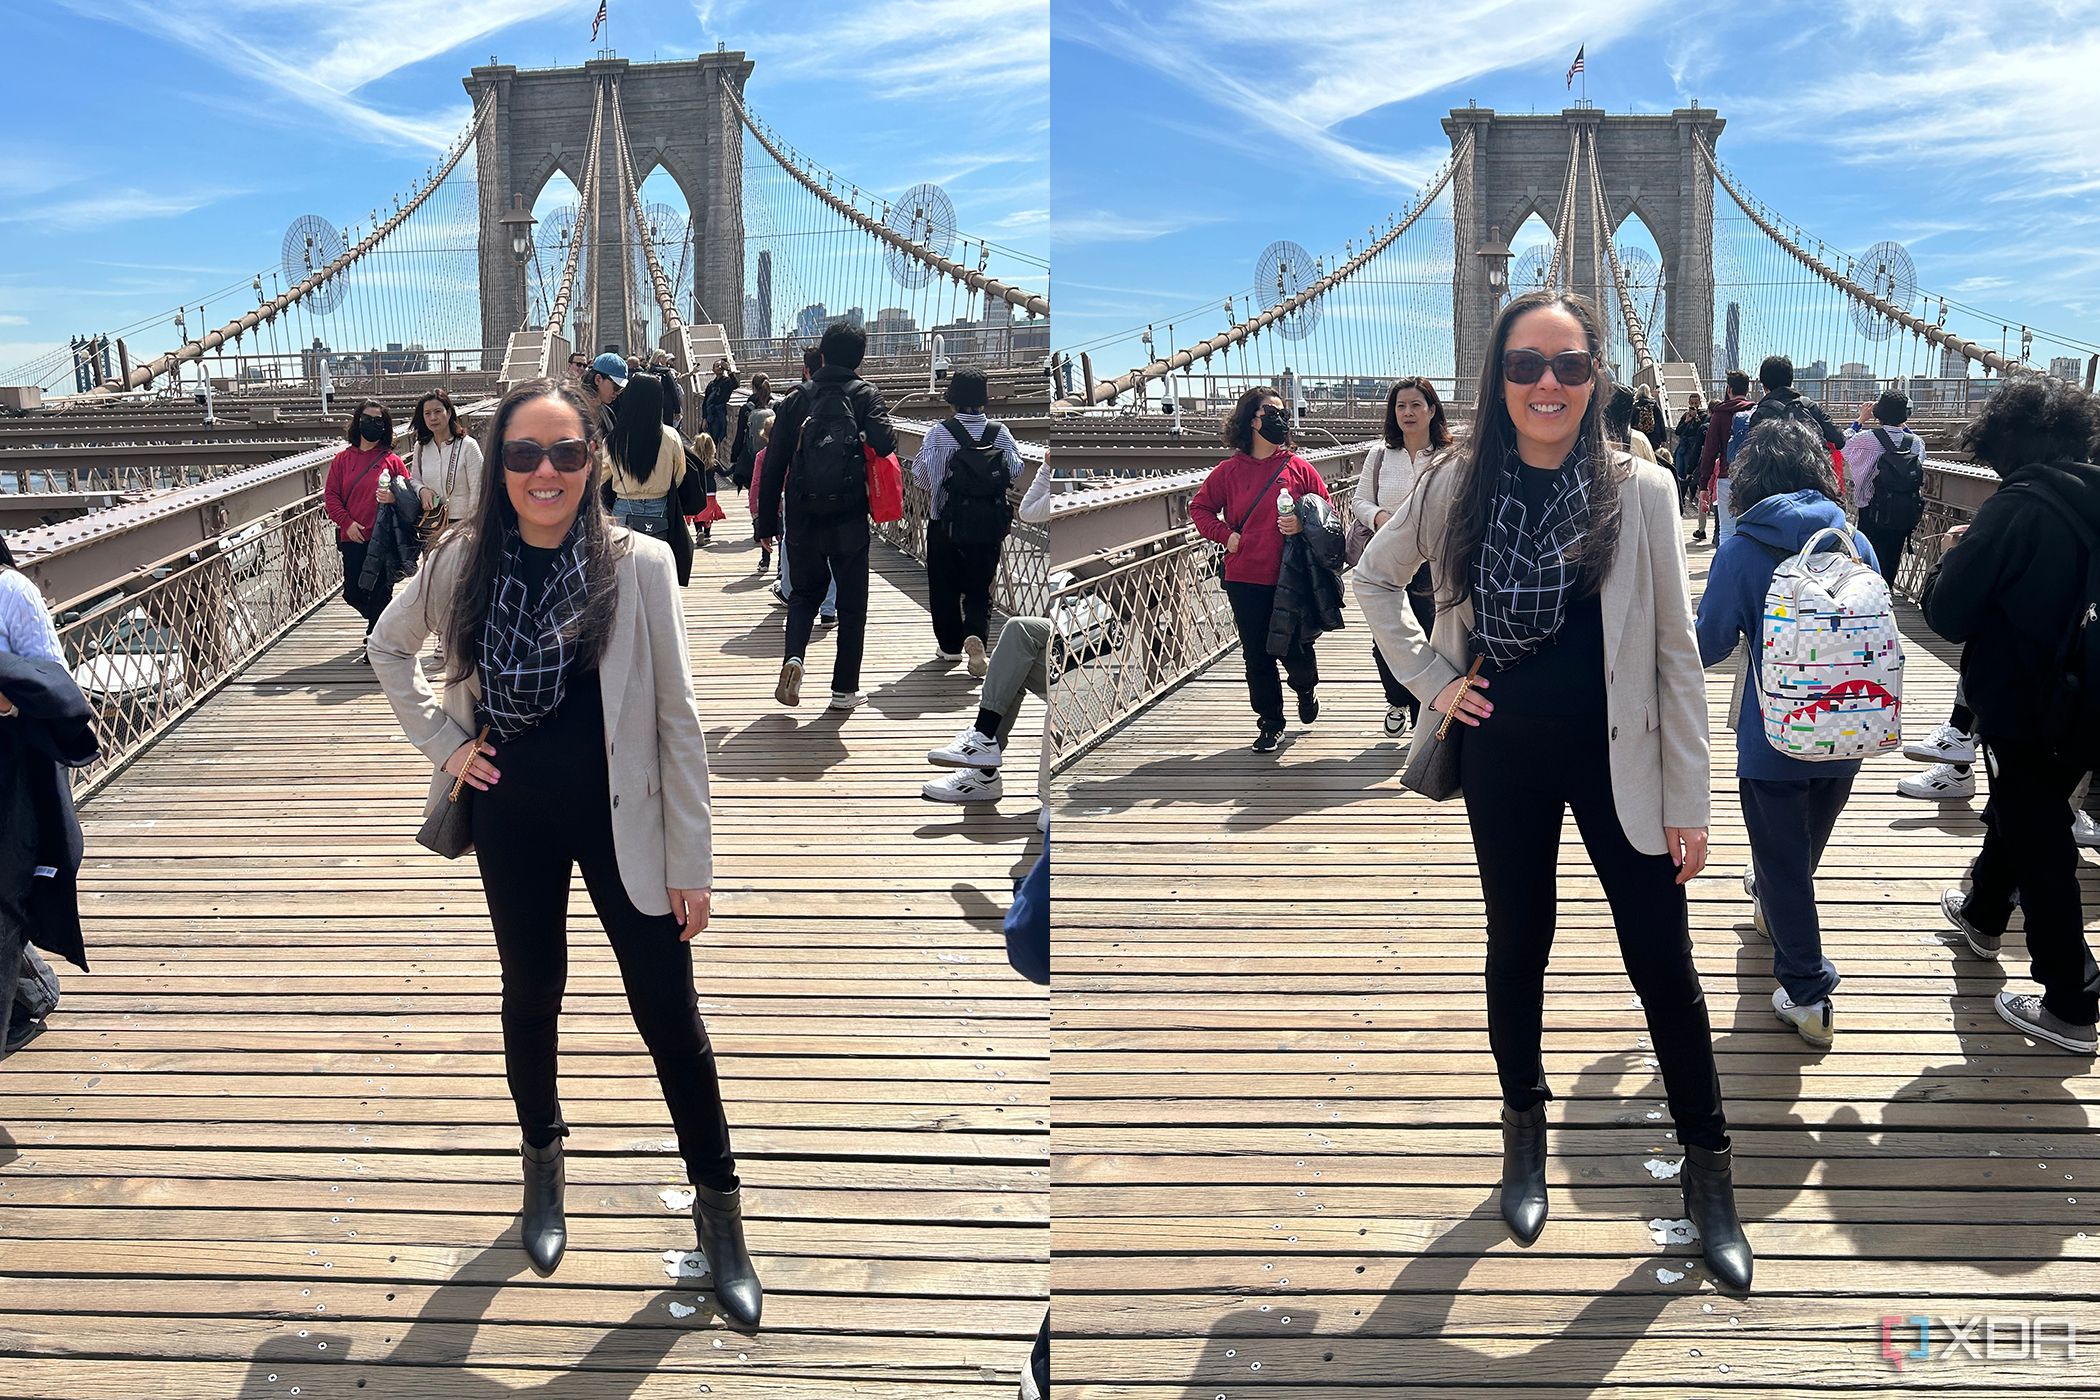
This is one of those photography tricks that can make the difference between a good photo and a great one. Instead of holding the phone in front of your face to take a photo (on the left here), or even at your chest level, hold it further down (as with the second photo). This adds a new perspective and can make the subject of the photo shine. Doing so can also present more detail in the foreground of the photo while eliminating distracting detail in the background. If you find holding the phone this way awkward, you can squat or kneel down.
6
Be mindful of composition
Some of us get excited and want to include tons of elements in a photo, but sometimes it’s best to keep things simple with a single subject and a clean background. Empty space in a photo, typically known as negative space, can actually be a good thing. It helps your subject, whether it’s a person or even a delicious dish, pop from the photo.
You might have to wait until you can frame a photo perfectly, like if people are walking by. Be sure to eliminate distracting elements, like your purse or a water bottle, in photos with people. It requires some patience, but the extra few minutes you take to set up the photo will be worth it in the end.
7
Play around with exposure
Most people simply open the camera app and press the shutter to take a photo without thinking twice. But there are adjustment settings worth exploring, including exposure. Exposure controls the brightness of the photo, and it takes some practice to avoid under- or over-exposed images. You’ll see the exposure option when you tap the little arrow at the top once you have opened the Camera app. Tap the +/- circle and you’ll see a slider. Sliding your finger to the right will darken the exposure and to the left will lighten it. You can use this to compensate for lighting, like if there are darker areas in the photo you want to brighten. You can even take long exposure photos to showcase subjects like a moving car or train with a cool, artsy effect.
8
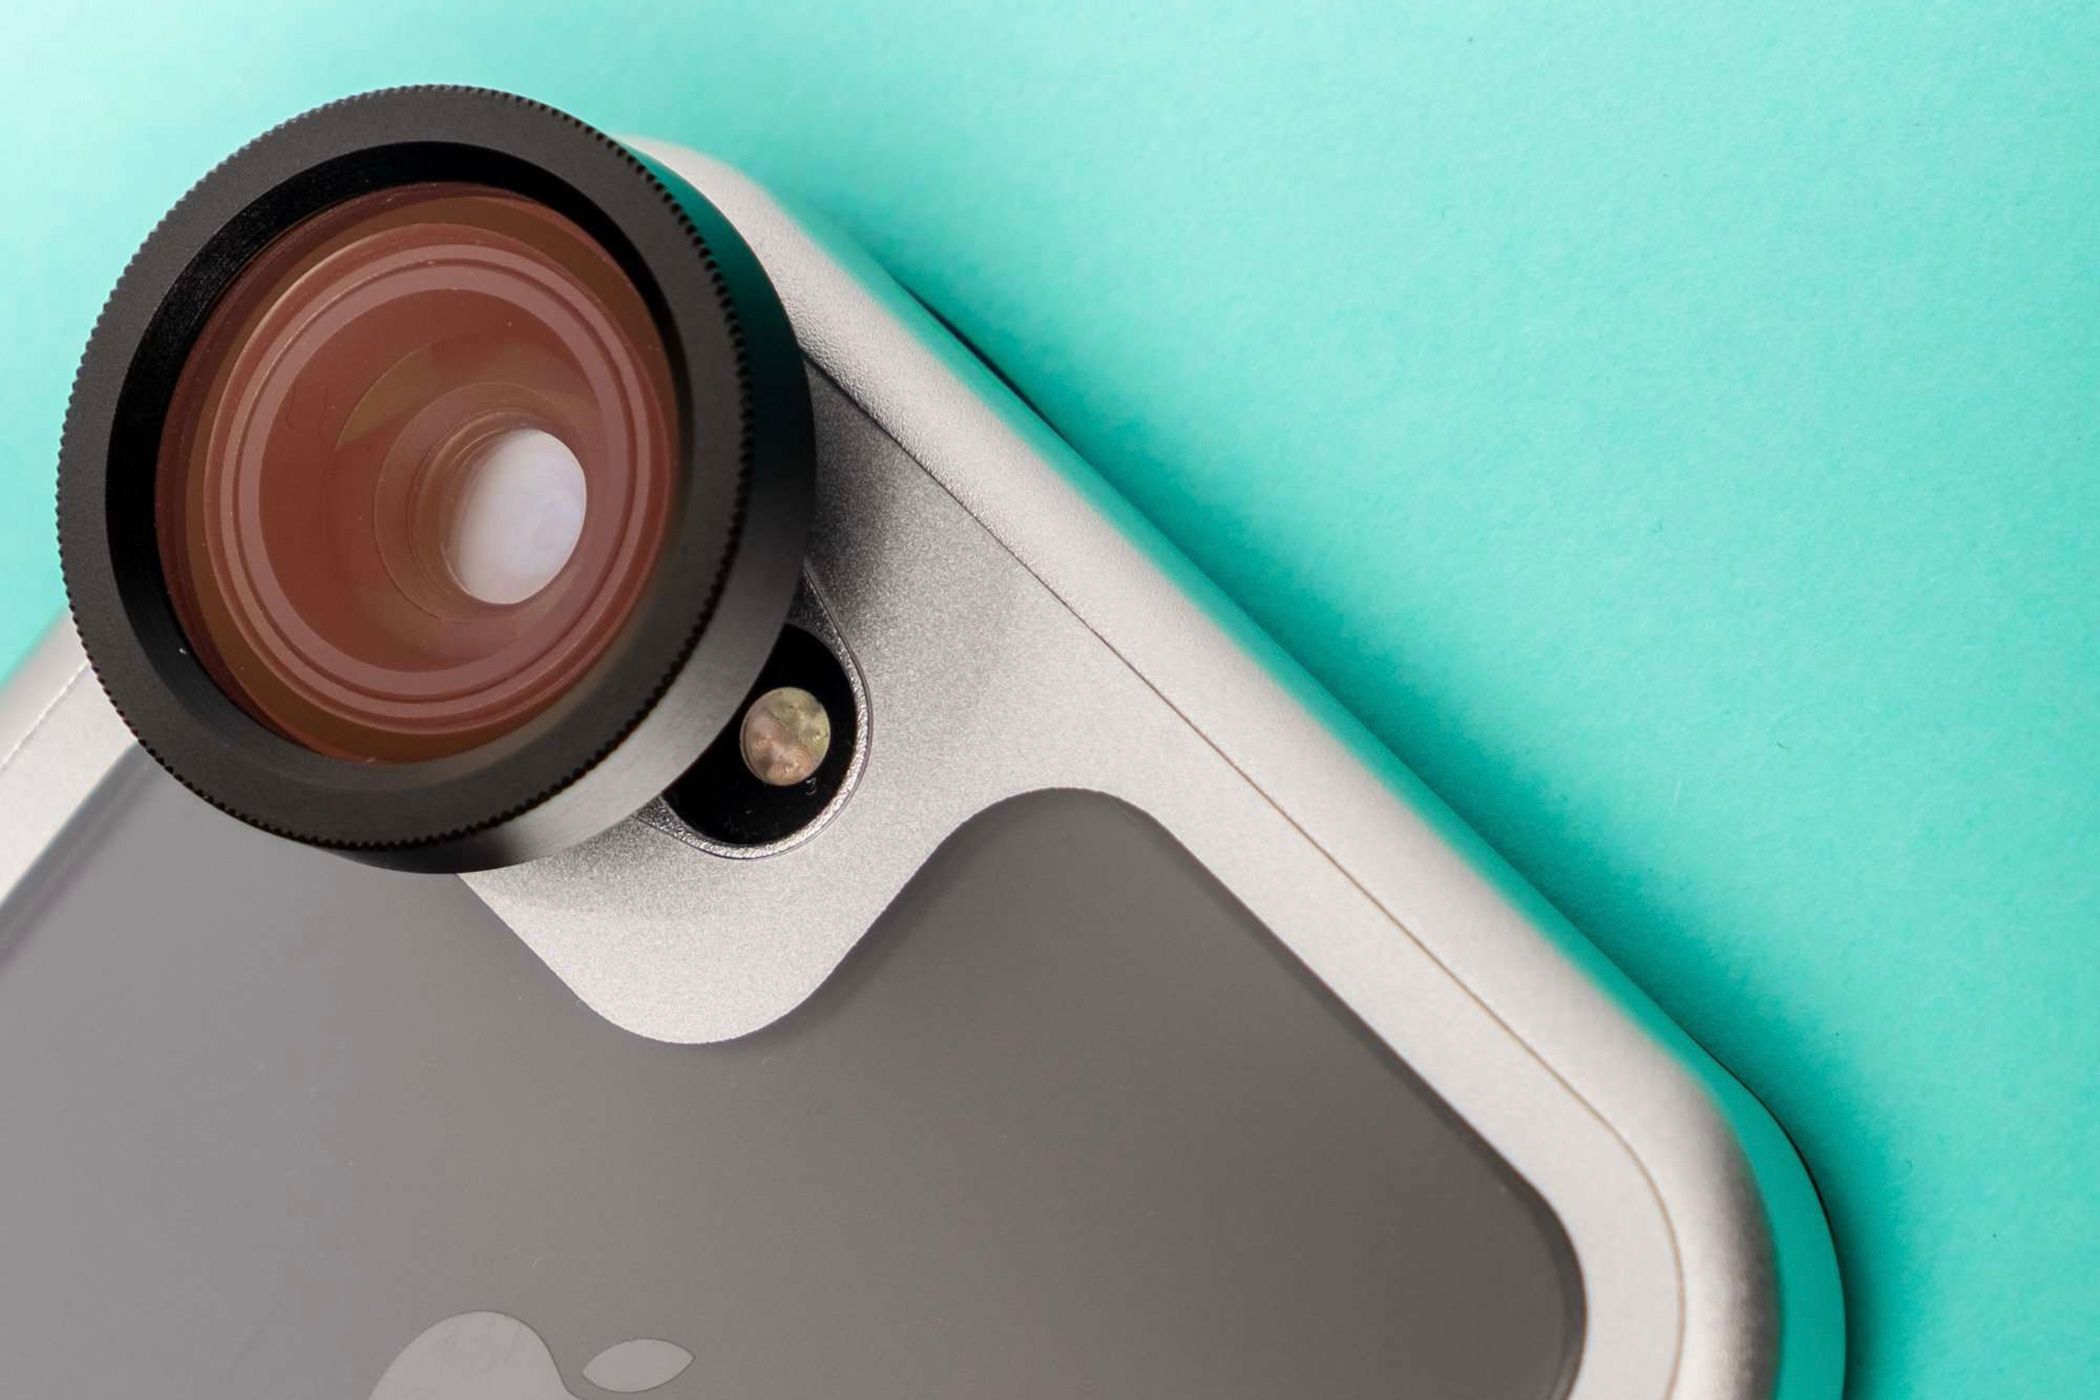
Use an add-on macro lens
Via Hitcase
Did you know there are add-on lenses for the iPhone? One such lens is a macro lens, available from brands like Hitcase. Pop one of these on the phone, and you can take stunning close-up shots of your new baby, pet, flowers, and more. The level of detail will be stunning and have your friends and social followers believing you took the photo with a DSLR camera.
9
Use square mode for social posts
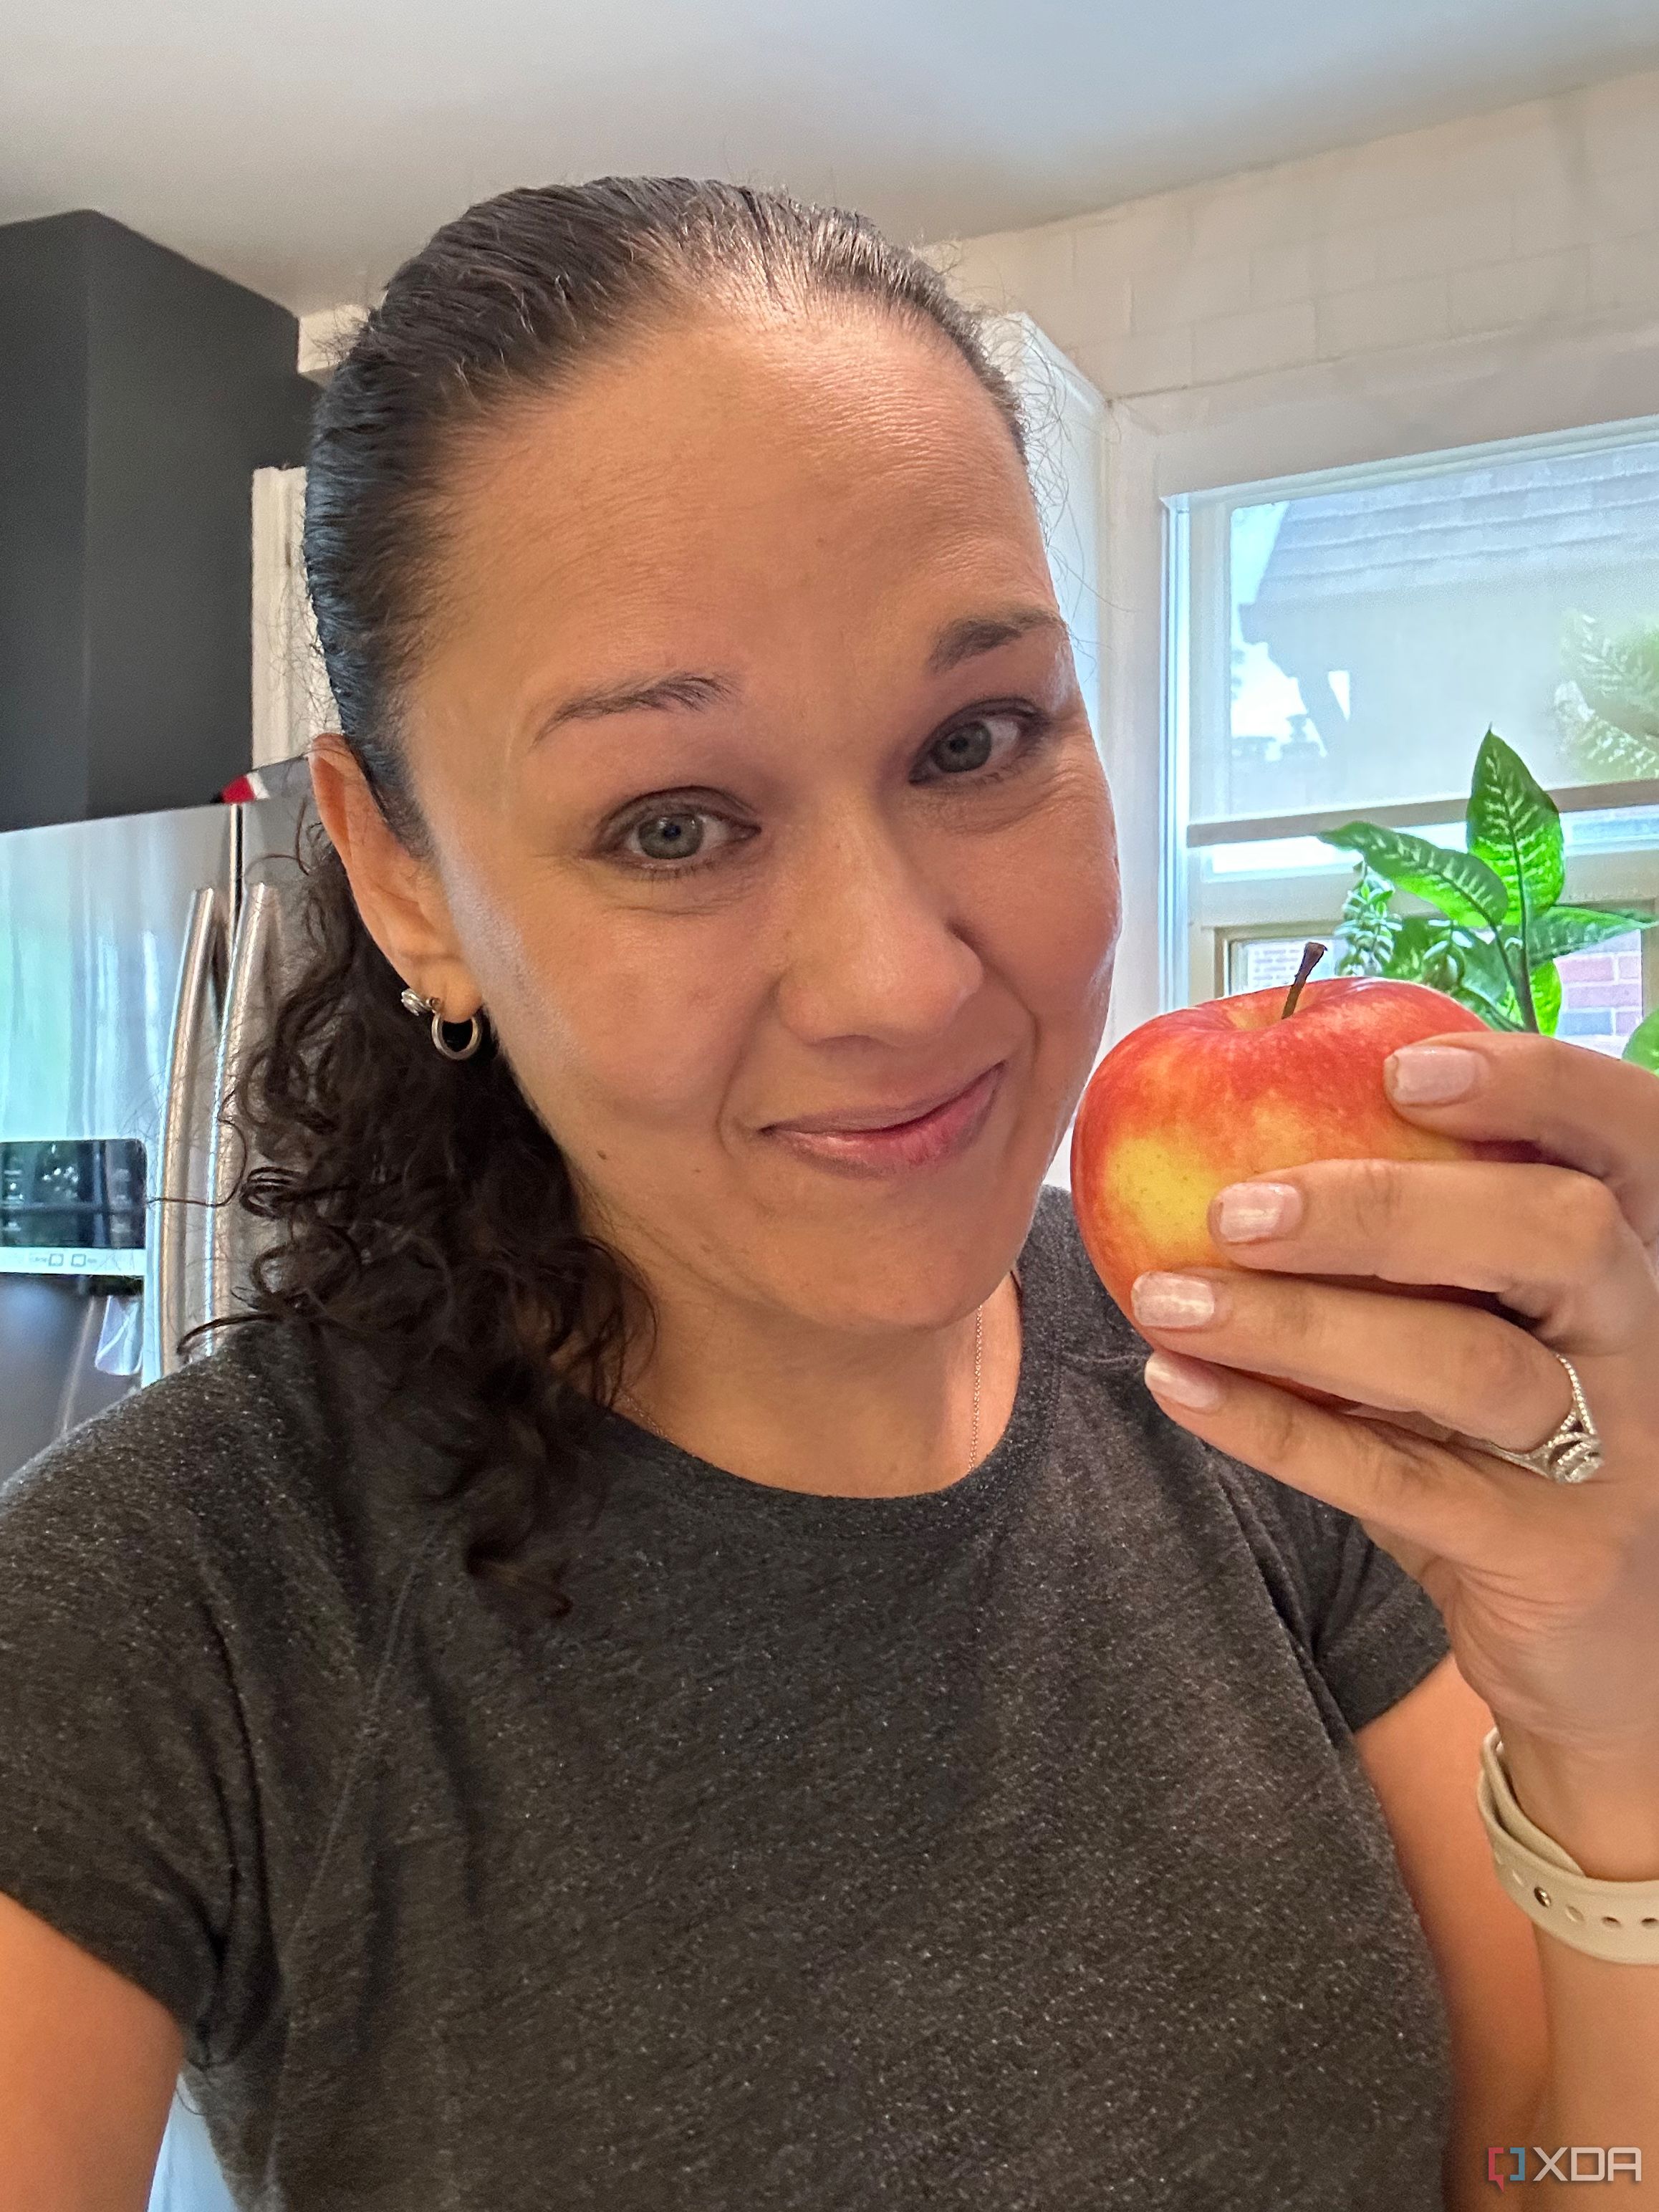
Have you ever tried to post a photo on Instagram only to frustratingly realize that people or elements are cut off because the image is too wide? Sometimes, even pinching to crop it doesn’t work. Thankfully, the iPhone Camera app has a square mode that is perfect for taking Instagram-friendly photos. In the arrow drop-down menu at the top, select the 4:3 option and then select Square. This will adjust the frame to a square that’s perfectly fitted for Instagram. Now you know everything in the frame will show in all its glory in your next Instagram story or post. This is also great if you’re using instant printers that make tiny, square prints directly from your phone.
10
Use filters
Just like with photo apps, you can apply a filter to any photo directly in the Camera app. You might have an image, for example, that you absolutely love, but it’s over-exposed. Instead of trashing it, losing that moment forever, tap Edit and the three-dot menu at the bottom and scroll through the various filters. The Vivid filter works wonderfully with colorful images of food, for example, making the colors pop. Using one of these might be able to save an otherwise undesirable photo. It will look like you did this on purpose to create an artistic effect; nobody needs to know the truth! A good solution sometimes to save otherwise terrible photos is to use the Mono filter and make it black and white, which can hide imperfections or focus issues.
Explore the camera
The camera on all the best iPhones can do a lot more than just snap the odd candid photo. If you really take the time to get to know all the settings, you can take fabulous photos without having to do a ton of editing or losing out on precious moments. You’ll find that with a bit of practice and know-how, your photos will look crisper, clearer, more engaging, and evoke more emotion.
Even if you’re just snapping shots to share via social media, the difference between a decent photo and a beautifully composed one can be night and day. Take the time to get to know your iPhone camera a little better. You’ll be thankful you did.
